:: DIY TUTORIAL | PAINT A CHEVRON STRIPED WALL ::
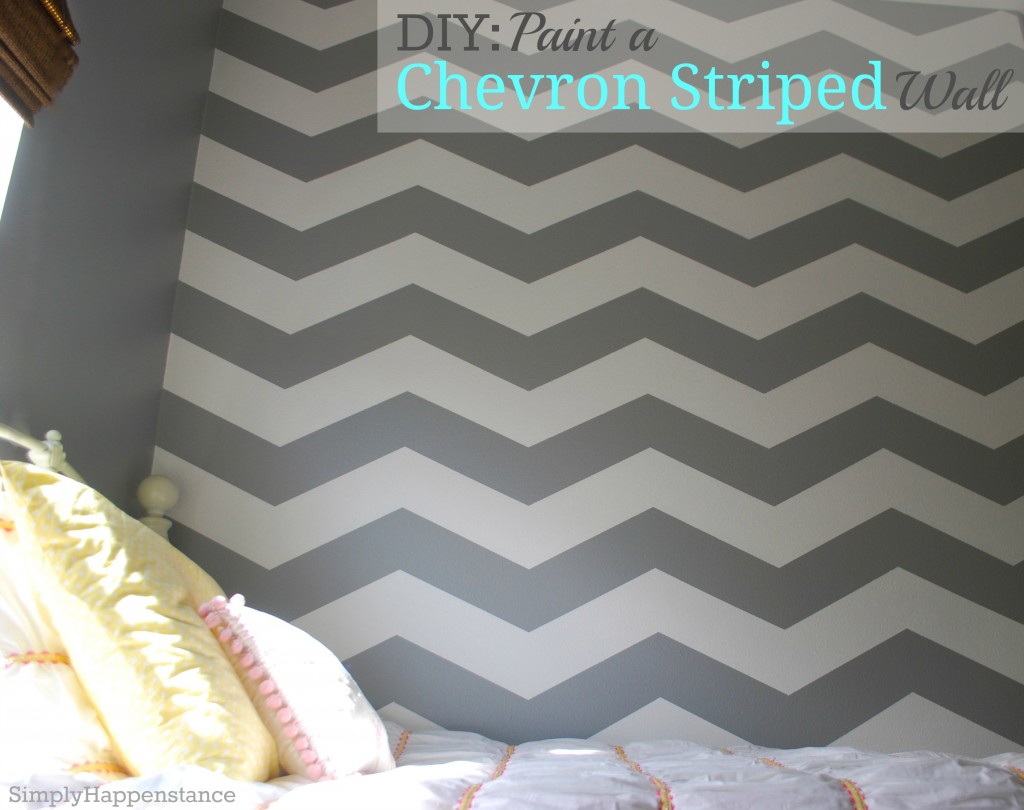
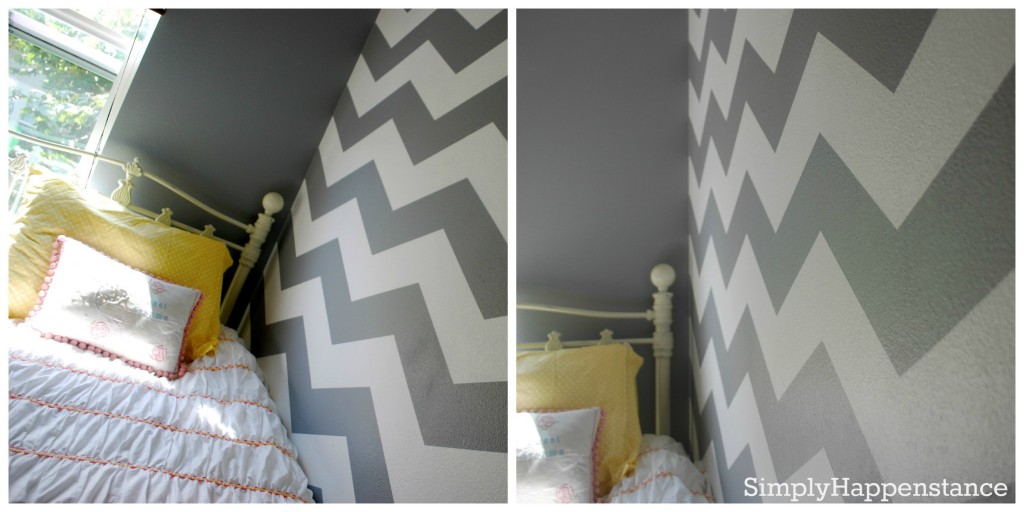
When we decided to put our two youngest {Sophia & Finn} in a room together… we knew we had to re-paint to make it suitable for both of them. Since I’m obsessed with the color gray {and it’s gender neutral}, we chose to paint three of the walls in a solid gray, and paint a chevron stripe pattern on the fourth wall to make things a bit more lively {admittedly… Miss Blue was slightly traumatized over the gray, and did refuse to sleep there until we told her she could paint her next room bright pink}!
Lucky for me…. all I had to do was ask my sweet Husby if he’d do it, and of course….he said YES! He is super handy and much more of a perfectionist when it comes to things like this. I am a little more book smart, so I used my talents to research the best method {and supervised the rest of the process, as any good wife would do}! The taping was a little intense… but most people probably won’t have their levels and yard sticks out measuring and re-measuring the way we did!
THE SUPPLIES:
-
Pencil
-
Yard Stick
-
Level
-
Painters Tape {we used Frog Tape}
-
Basic Paint Tray
-
Paint Rollers
-
Step Stool or Ladder {depending on the height of your ceilings}
-
Two paint colors {unless you are doing multiple colored chevron stripes}
THE DIRECTIONS:
This is the video {by Lowes} that we watched to figure out precisely how to tape off our stripes. After researching various explanations, we found this to be the easiest to understand. It is pretty simple once you get the first stripe taped {although, I’m not going to lie…. it is time consuming if you are seeking perfection}! You will have to play around with your measurements to achieve your desired look. You will probably want to take into consideration the size of the accent wall you are painting {for example, if it’s a large wall…. broad, thick chevron stripes may be less busy}. If you happen to learn by step-by-step pictures and written explanations… this tutorial by A Commoner’s Castle on Remodelaholic is very thorough!
We are very happy with how the finished look turned out… and guess what?!! Sophia LOVES her room, too {even though it’s gray}!


