:: DIY Snowflakes ::
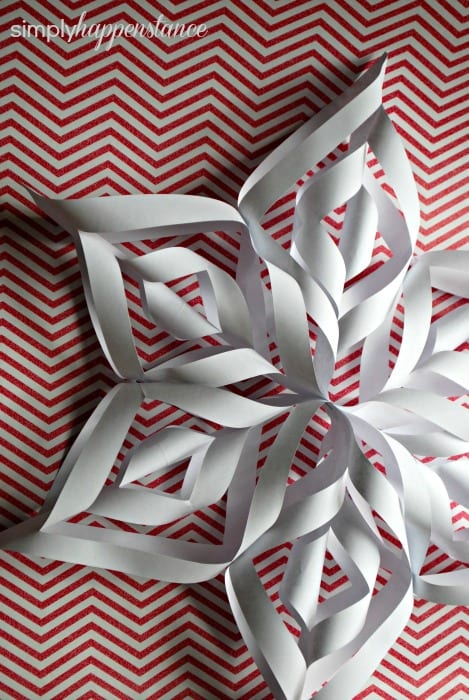
I have a super easy, and fun, three-dimensional snowflake tutorial to share with you today! My oldest son, Ryan, came home with one of these pretties last year. I immediately made him show me how to make them! The supplies are undoubtedly things you have around the house, and the steps are simple… especially once you’ve made the first section. This would be a lovely craft to do with the kids over winter break! They make darling seasonal decorations around your home… and can be made on a smaller scale to embellish gifts! So let’s get to it…
Supplies you will need:
- 6 sheets of paper {plain white, colored, patterned… whatever you prefer}
- scissors
- tape
- stapler
Optional Supplies:
- pencil
- ruler
- glue gun
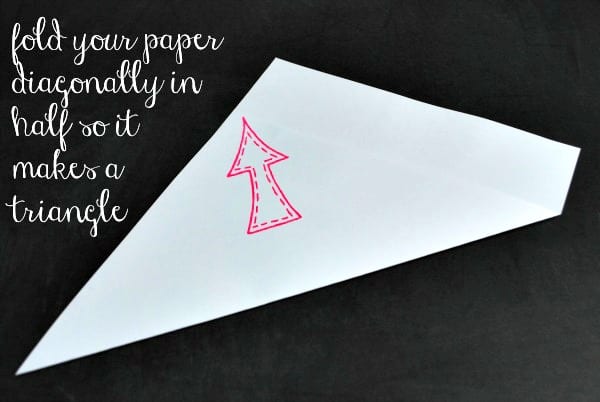
>>> Instructions <<<
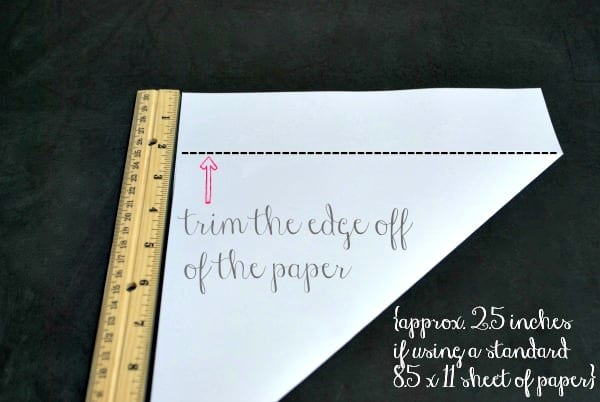
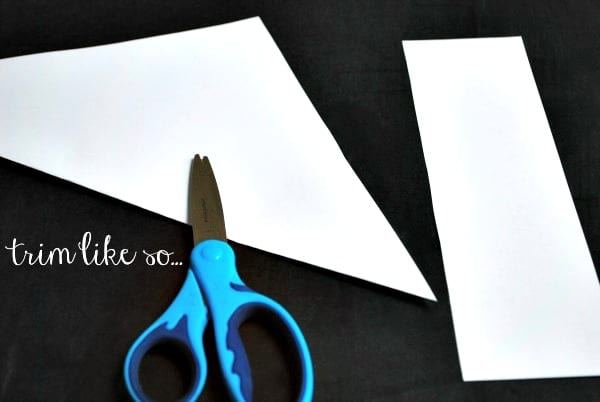
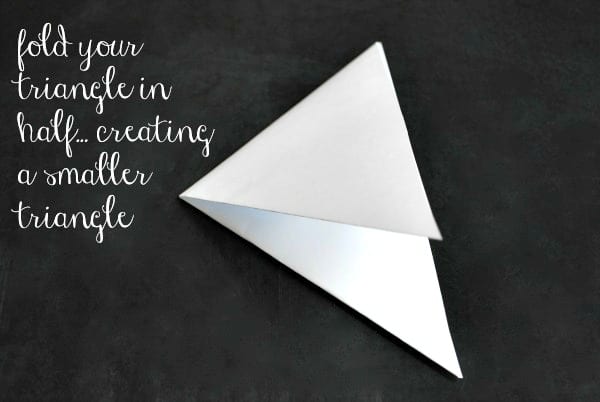
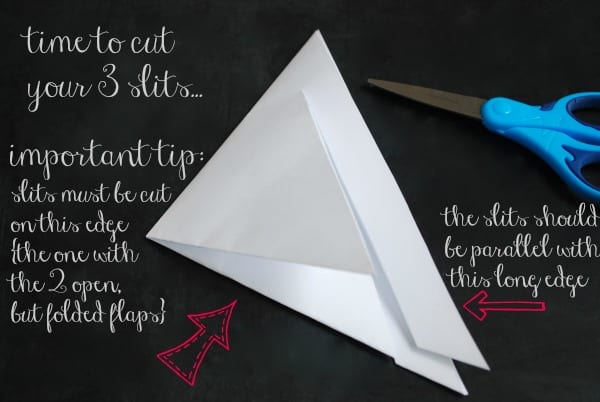
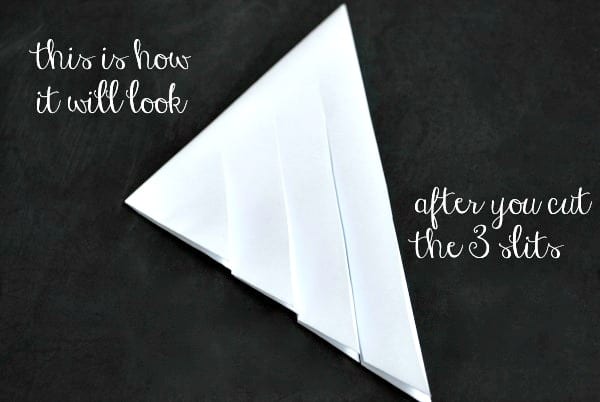
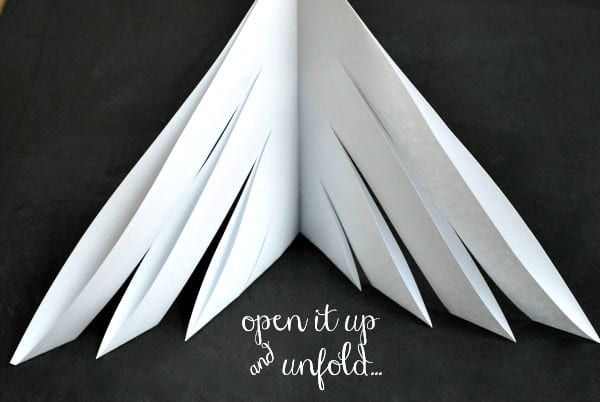
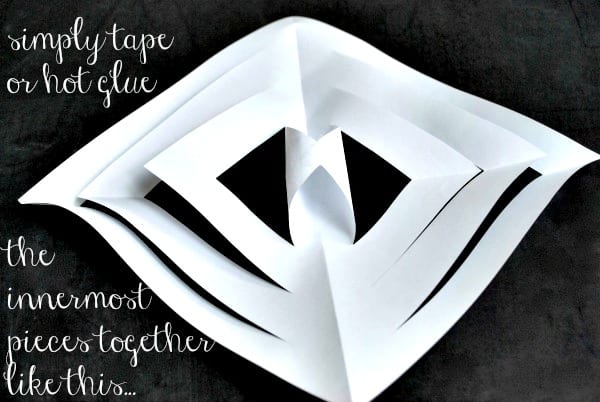
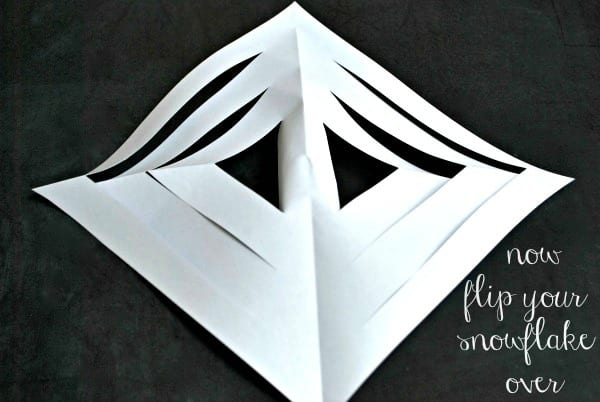
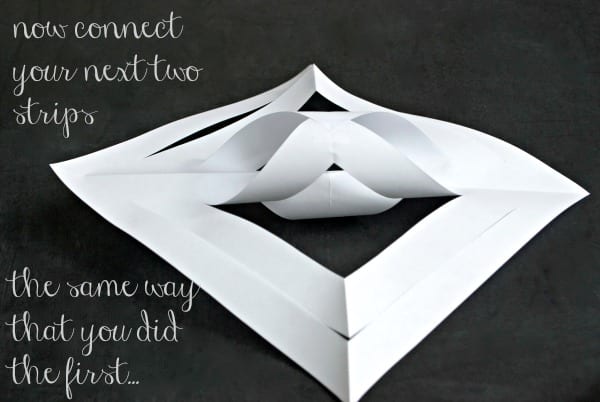
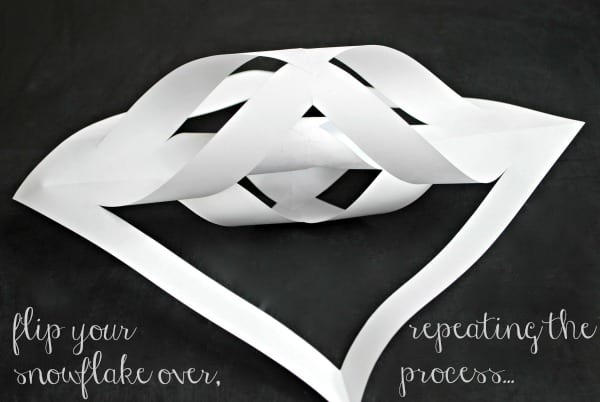
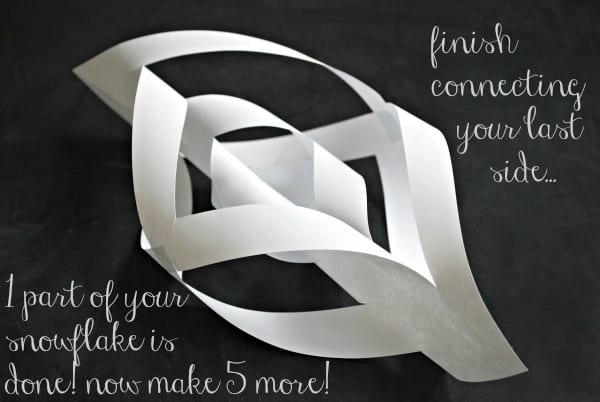
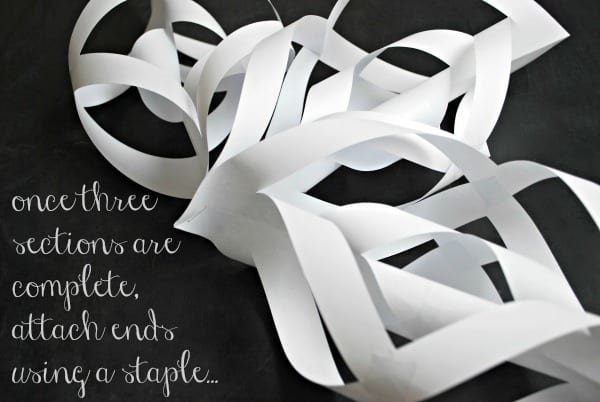
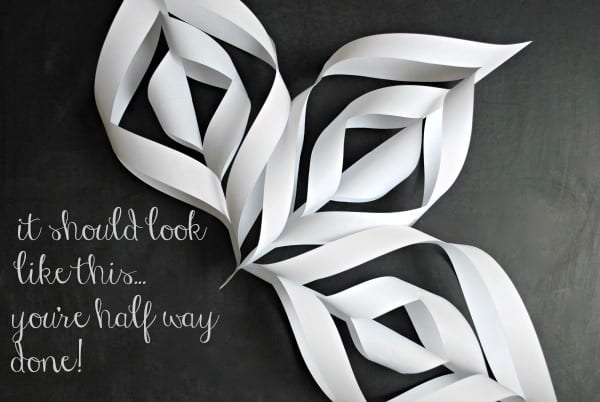
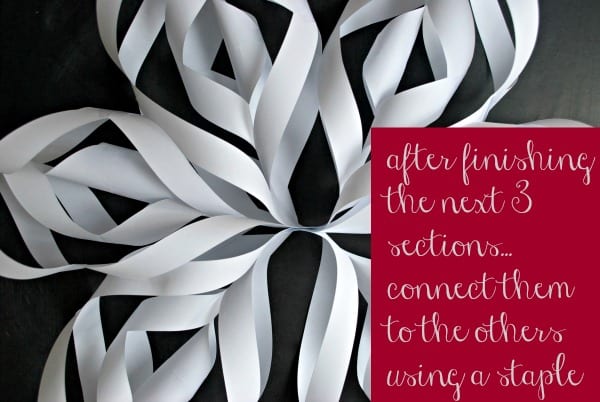
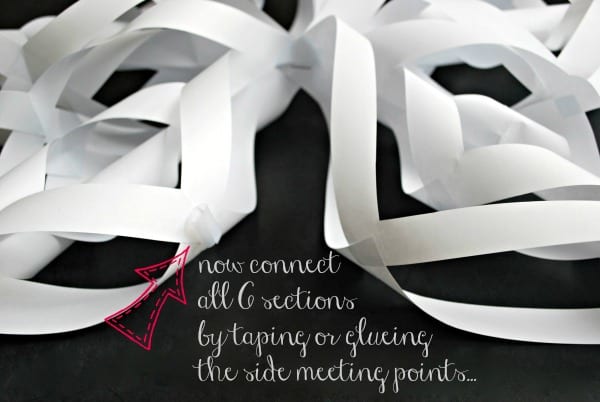
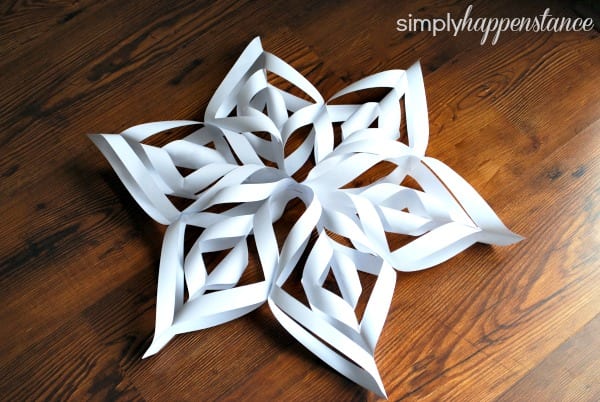
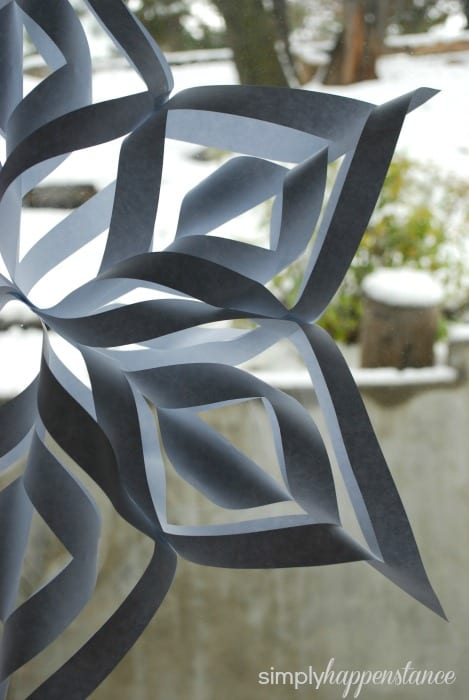
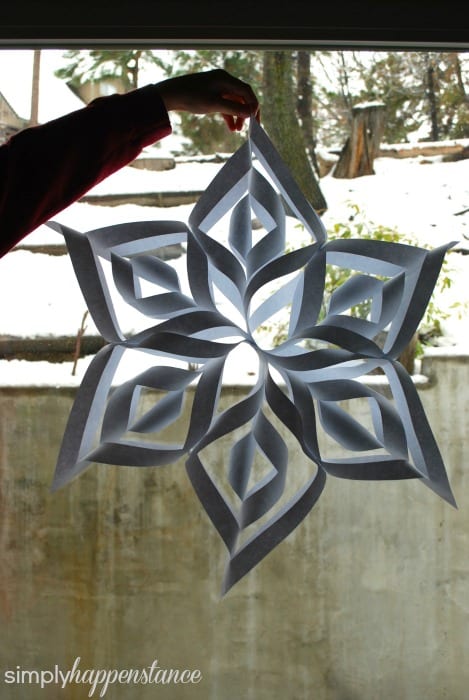
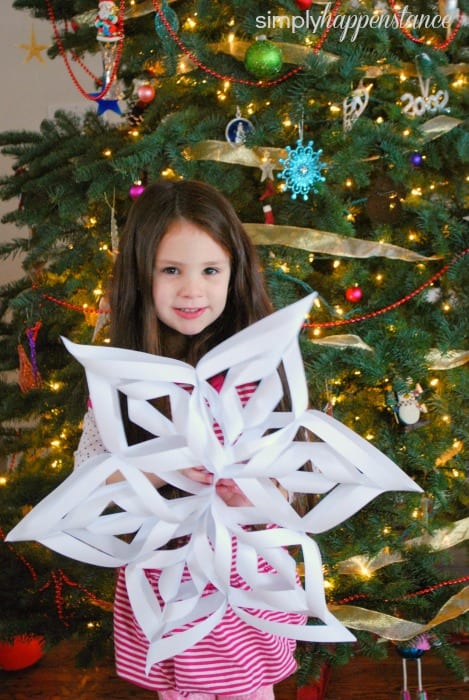
That’s it! You now have the finished snowflake! Easy, right?! It’s quite large, if you started with 8.5 x 11 inch paper! These pretty snowflakes are so beautiful if you make several and hang them together! Last year, we hung a cluster over our island in our kitchen. This year… they adorn our family room windows.
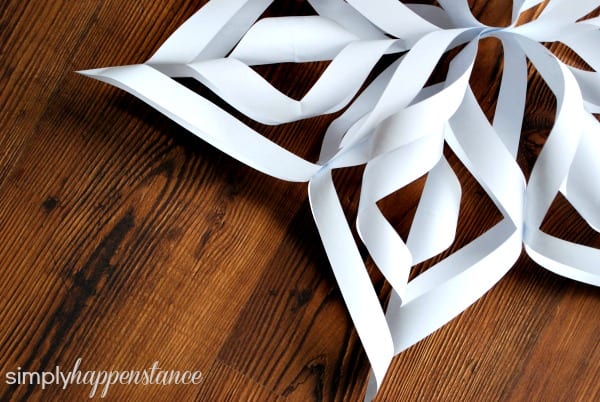
As mentioned earlier… you can also use smaller sheets of paper to start with, and use the snowflakes to dress-up your gift wrap! How darling would that be tied on with ribbon, raffia, or twine? In fact… you could probably get your kids to make them! It would keep them busy and help you out by making your presents look dashing!
