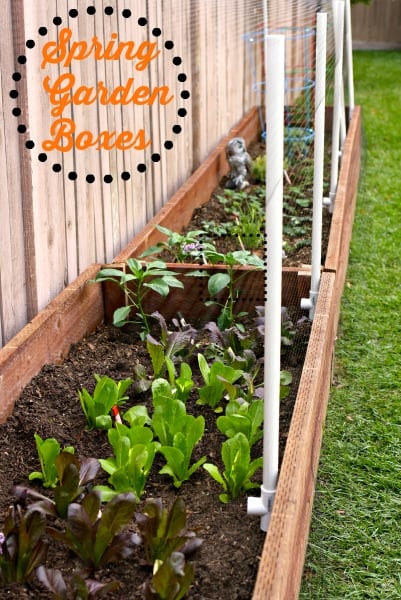
:: Spring Garden Boxes ::
It’s spring! It was high time I got to work on my Spring Garden Boxes. Last year my husband and I made DIY Garden Boxes. Last year, was our first time we grew our own produce and well, we learned A LOT! Yes, some plants were a challenge and some did well. The hardest part I would say, was preparing for the our endless summer that we experienced in 2013. We are still begging for a little bit more rain, but either way we are moving forward with our updated Spring Garden Boxes.
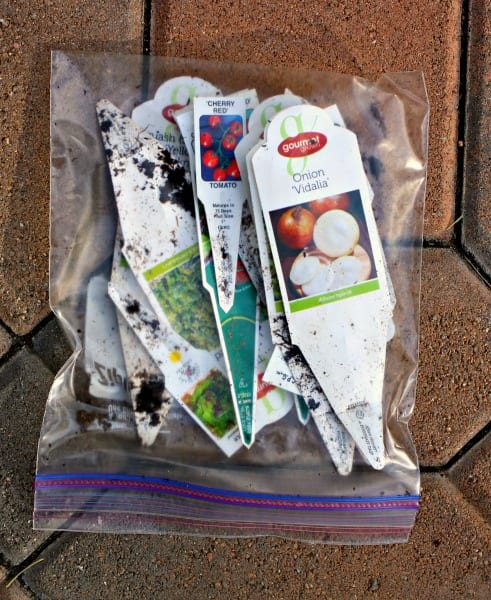
The first thing I had to do was evaluate what we planted last year. I kept all of the garden tags from the plants we planted so that I could remember what worked and what did not. I also kept the tags as they gave me complete instructions on the type of sun needed for growing each of the plants. From what I experienced, some of these tags were off a bit. So I wanted to make sure to jot this information down so that we did not make the same purchasing mistake.
So you are wondering why plants and not seeds? Honestly, our climate has been so inconsistent that it was hard to plant seeds when we needed to. Our lack of rain has truly caused us skip the whole winter season. In fact our spring plants from last year, were still thriving in late fall. I did not trim the last plant until the month of November.
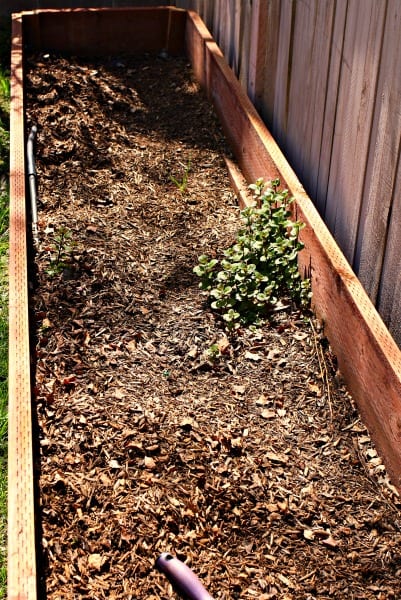
So as you can imagine, little rain, lots of Santa Ana Winds, and heat, led to messy boxes that needed to be cleaned and refilled with compost. The first thing I did was clean out plant remnants and wild mint {mint is lovely, but oh boy it can take over your garden}. After I cleaned out that layer, I added compost from our composter {yes we compost, wink} as well as bagged organic biodynamic compost. Once that was done I placed the plants I purchased in the beds based on what worked in our boxes from last spring.
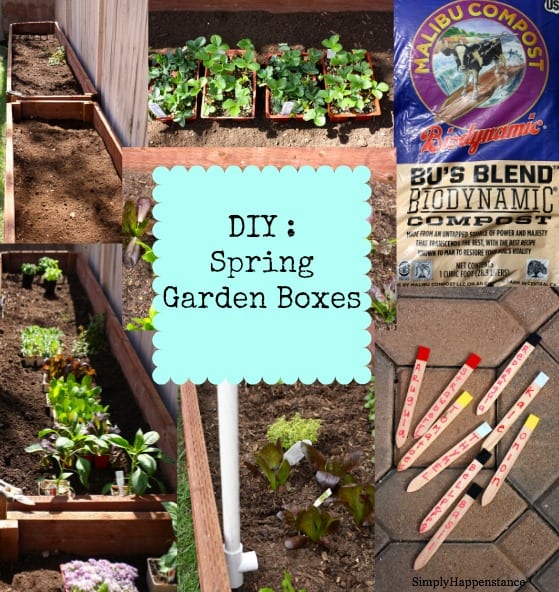
After I situated the plants to their desired sun locations, I placed them in the ground accordingly. I then marked them with these cute plant markers shown above that I found on sale at the end of summer from West Elm. Last year once the plants were planted for about a week, we discovered that my Boston terrier, Lulu {being the smart dog she is} found a way to jump in the boxes and help herself to strawberries and blueberries. Oh the life of a dog, thus we created a barrier with wooden picket fencing. Loved the idea but hated how it weathered and since this is an organic garden free of pesticides, I was constantly trying various ways to get rid of the bugs that loved my plants.
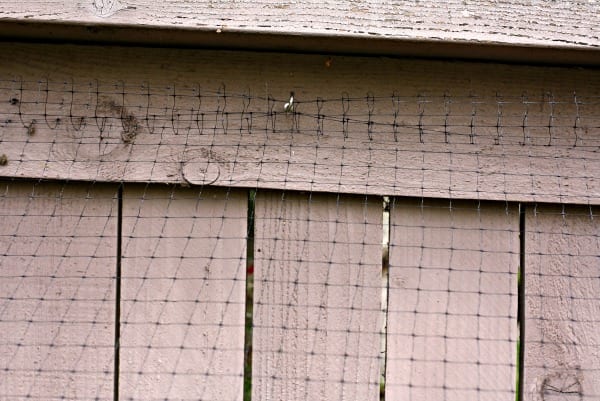
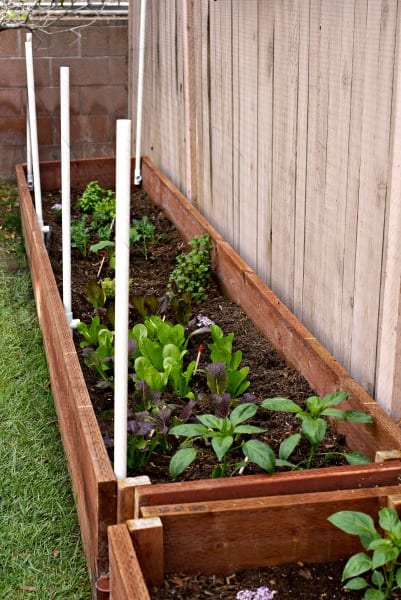
This year Shane helped me install pvc piping as a way to support netting that would keep the dog out, keep some of the bugs/birds out, as well still offering complete sunshine and watering capabilities to the plants. We have a drip system installed, but come the summer heat, I often had to water at dusk or early in the morning. The net simply drapes over the drilled in piping and we installed these hooks {seen below} unto the fence above the Spring Garden Boxes.
Fingers crosses for a successful gardening season! Let us know if you have any garden box questions. We will be happy to help.

