 Vanilla Bean Scones //
My kids and I love the little Vanilla Bean Scones at Starbucks. Unfortunately, we don’t get them too often, because they tend to run out early in the day. They’re delicious (and clearly we aren’t the only ones who think so)!
Having never made scones before, I decided to search for a ‘copycat’ recipe online. Lucky for me, I came across one that The Pioneer Woman posted some time ago. I wouldn’t describe the recipe as quick and easy, friends… rather, I think it’s a bit labor intensive. (Sort of like the work involved in making homemade sugar cookies, cutting them out, frosting them, etc.) There’s lots of love that goes into creating these little gems, but it makes them absolutely irresistible!
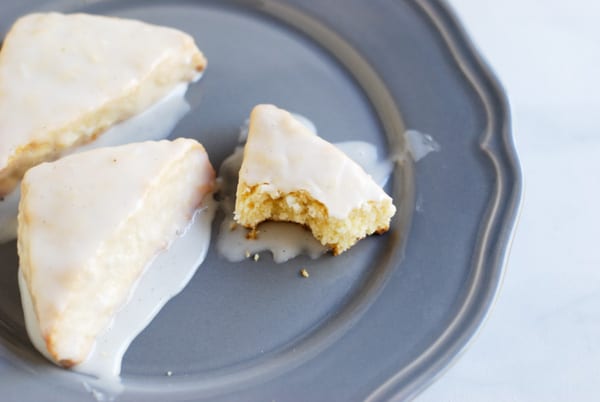
I’m sort of at a loss for words in describing them, but in my (“expert” of all-things-sweet) opinion, they’re the perfect flakey scone texture! The glaze compliments the slightly sweet biscuit, sealing in the moisture. However, the star of the scone is definitely the vanilla bean! Did you know that there are usually 25,000 tiny vanilla seeds in one scraped vanilla bean pod? Amazing! Well, all of those mini flecks add the most intense flavor!
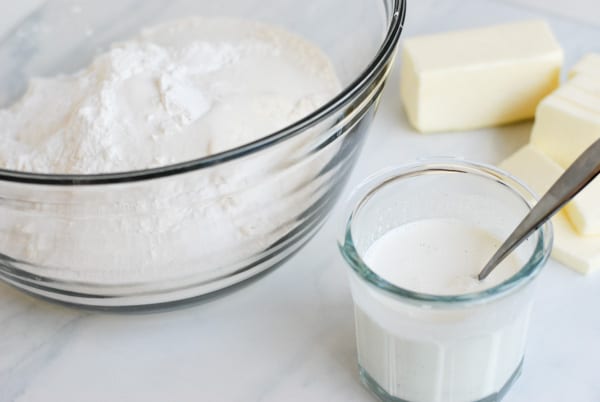
{Since there are many steps to making these little scones, I thought I’d write less and let the photos do the talking. If you are unfamiliar with how to scrape a vanilla bean, start by watching this short video by Martha Stewart.}
Add the seeds of two scraped vanilla beans to the heavy cream, allowing to sit for several minutes to soak in the flavor. You can also add in the actual scraped pod, to increase the overall vanilla flavor (just remove prior to pouring into the dry ingredients).
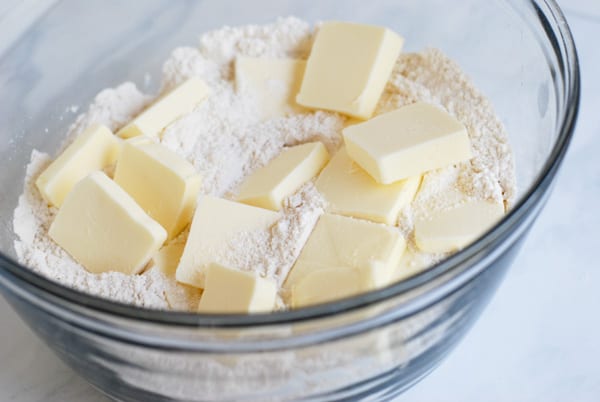
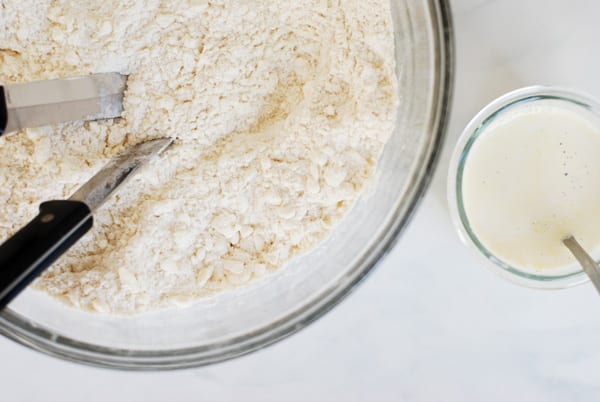
Mix the dry scone ingredients, using a fork, until combined. Cut the unsalted cold butter into slices/chunks. Using a pastry cutter or two knives (which I used), cut-in the butter, until pea-sized coarse crumbs form. (Watch this video for the how-to!)
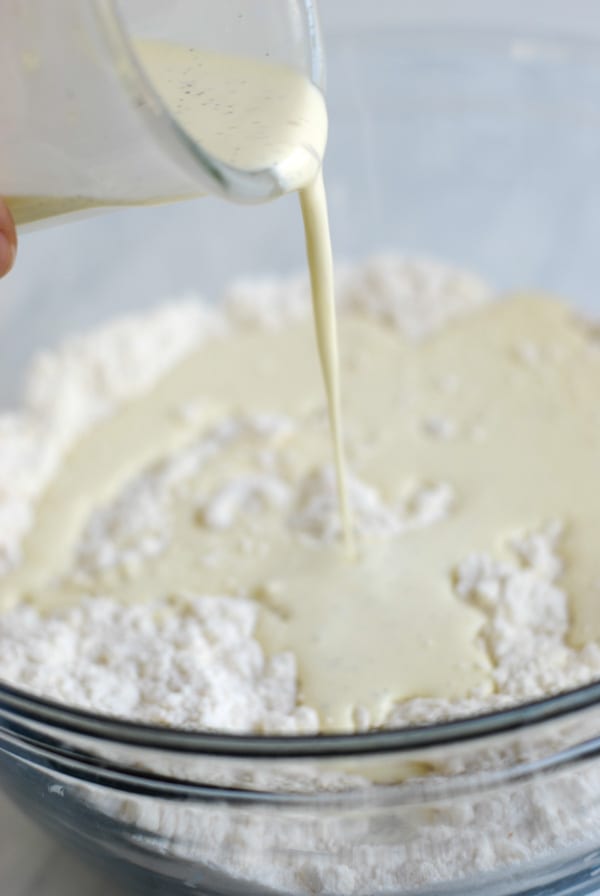
Add one large egg to the vanilla cream mixture, beating lightly with a fork. Pour onto the butter/flour mixture, stirring until just combined.
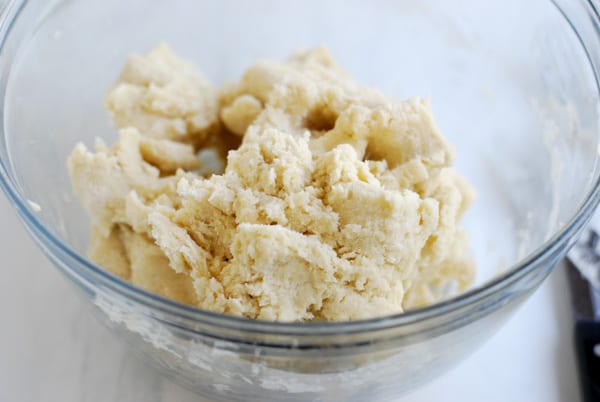
Using a fork, or your clean hands, take a minute to incorporate the wet and dry ingredients. (The dough should still be a bit crumbly.)
Put the dough onto a lightly floured surface and press it together until it forms a rustic rectangle. Use a rolling pin to roll into a rectangle, until dough is about 1/2 inch to 3/4 inch thick. Use your hands to help with the forming, if need be.
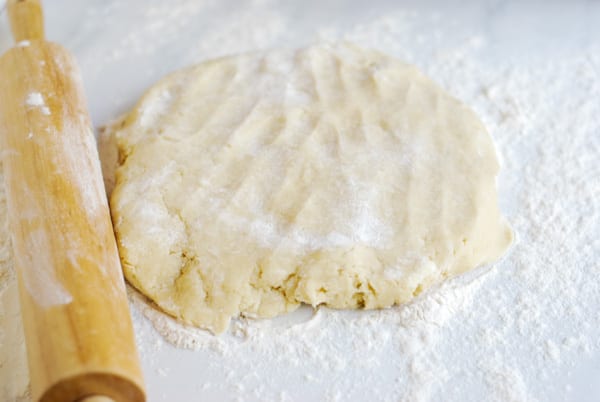
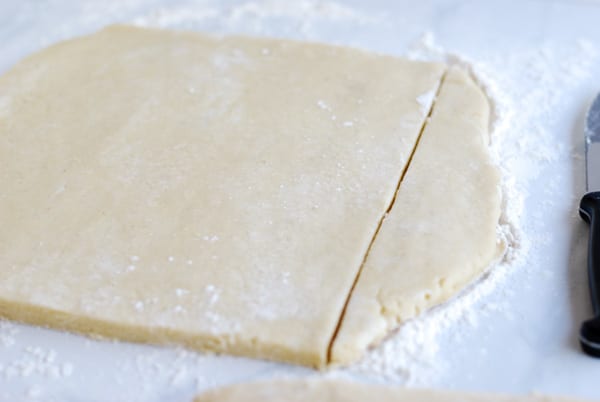
Use a knife to trim into a symmetrical rectangle, then cut the rectangle into 12 symmetrical squares/rectangles.
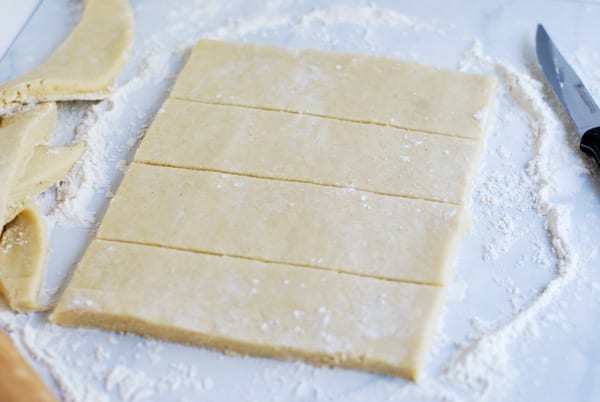
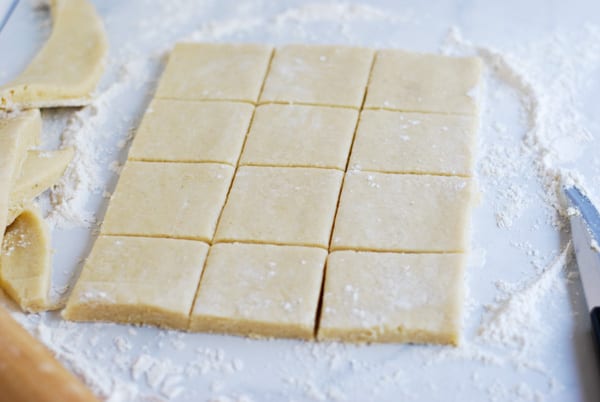
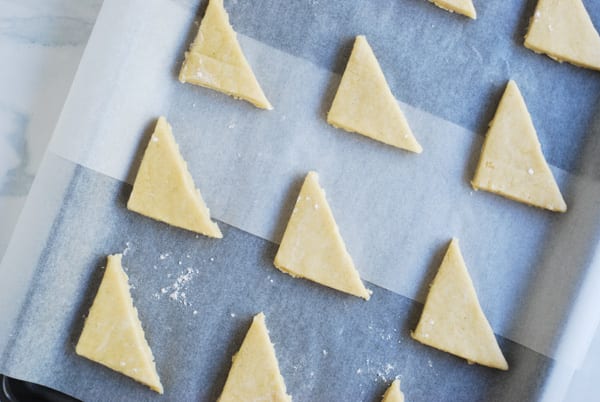
Next, cut each square/rectangle in half diagonally, to form two triangles, like so…
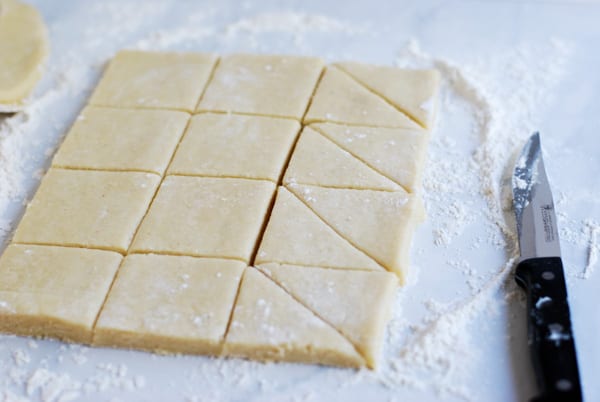
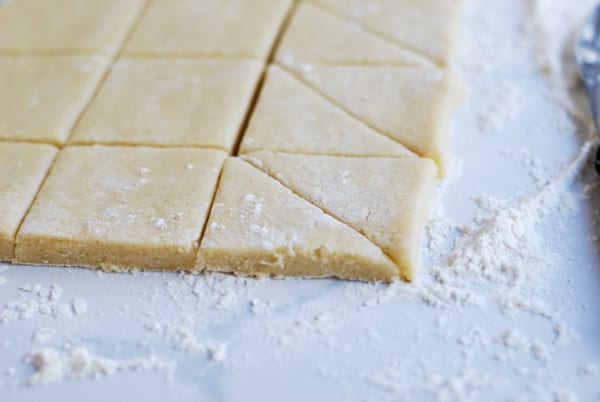
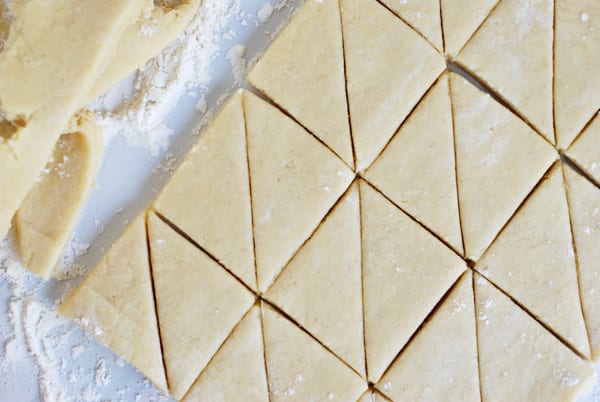
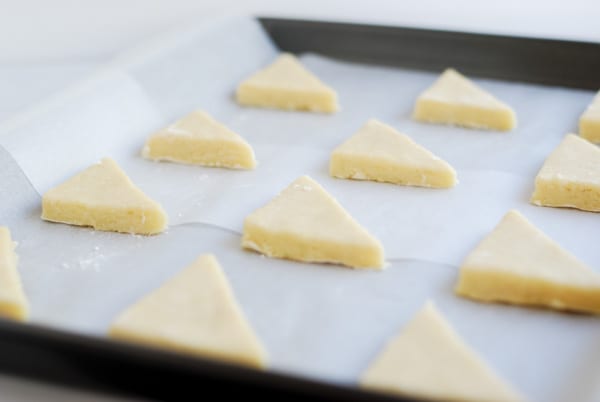
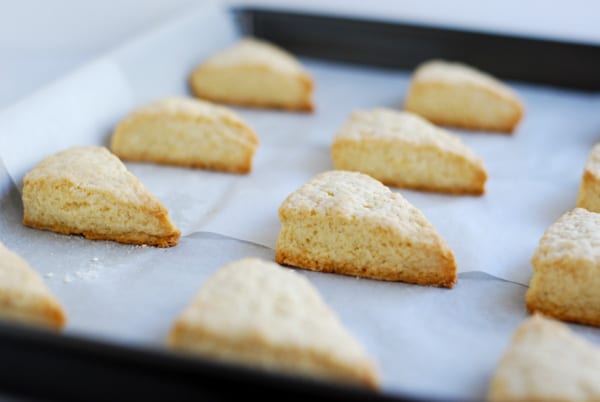
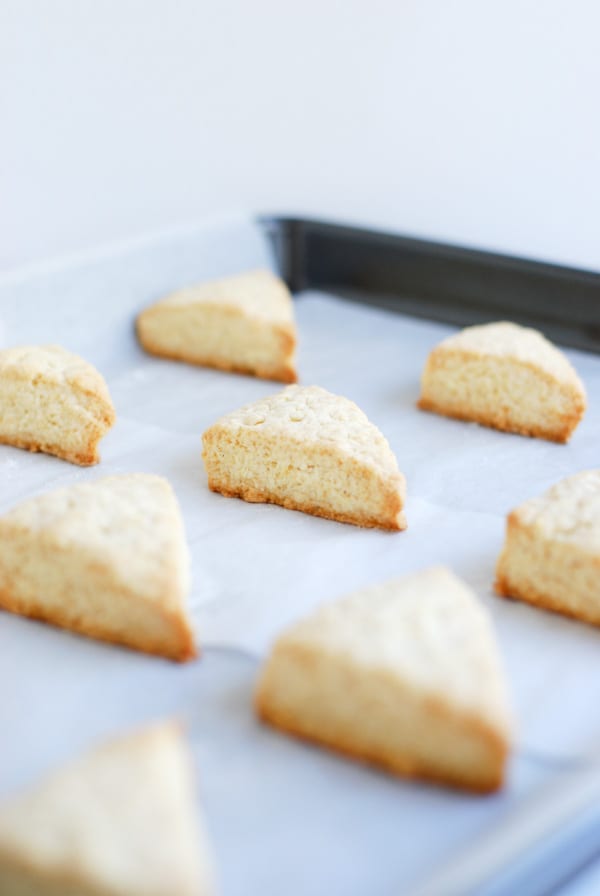
Transfer the scone triangles onto a parchment paper lined cookie sheet and bake for 15-18 minutes (until edges and bottom are a light golden brown).
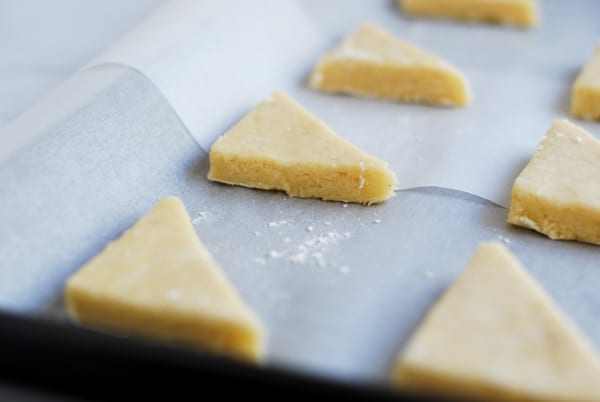
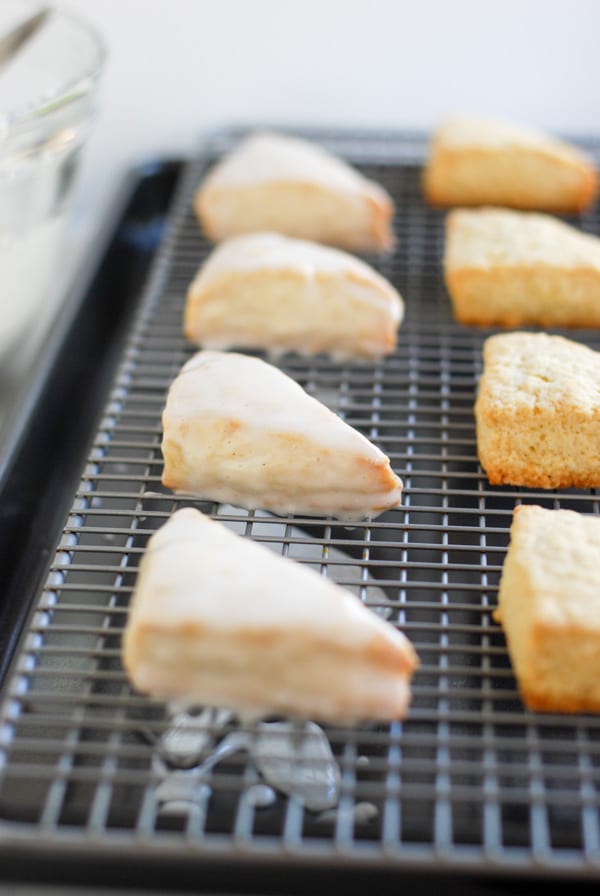
Allow scones to cool for 15 minutes on the cookie sheet, then transfer to a cooling rack to cool completely.
{While the scones are cooling, begin making the vanilla glaze.} Split one vanilla bean in half lengthwise and scrape out the seeds. Stir vanilla bean seeds into milk; allow to sit for a few minutes.
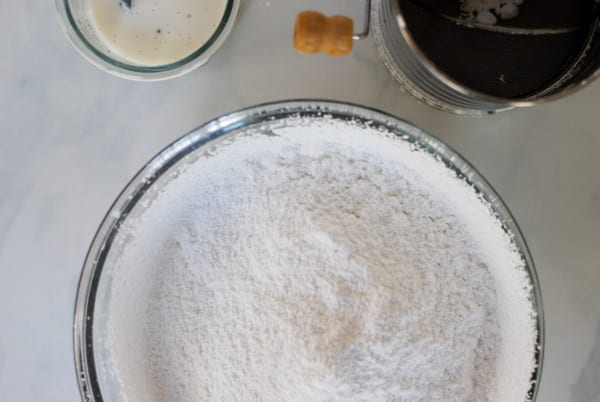
Mix the powdered sugar with the vanilla milk, adding more powdered sugar or milk if necessary to get the consistency to the right medium-thickness. Stir or whisk until completely smooth.
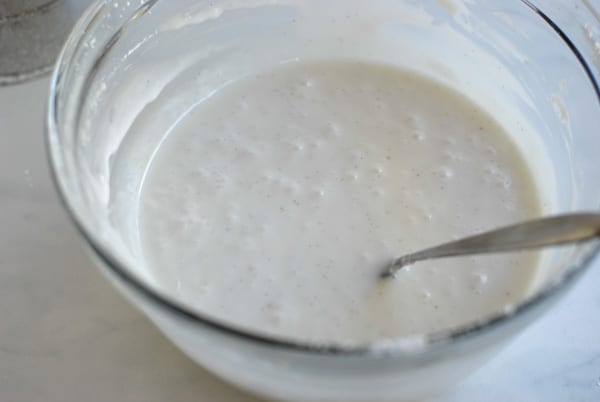
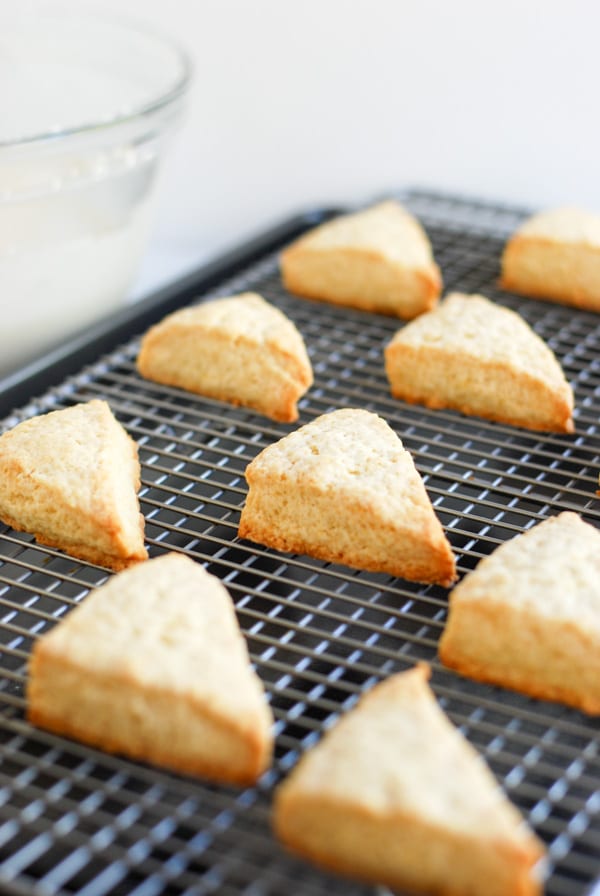
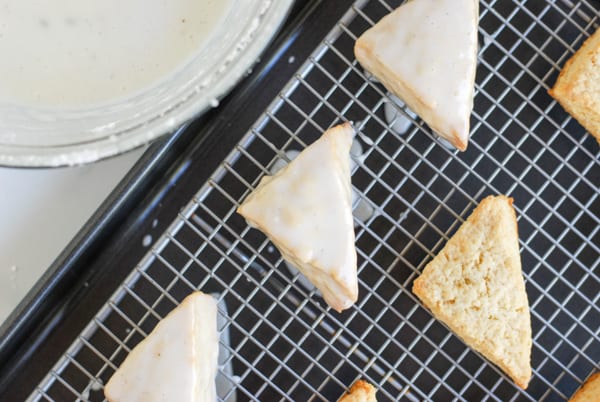
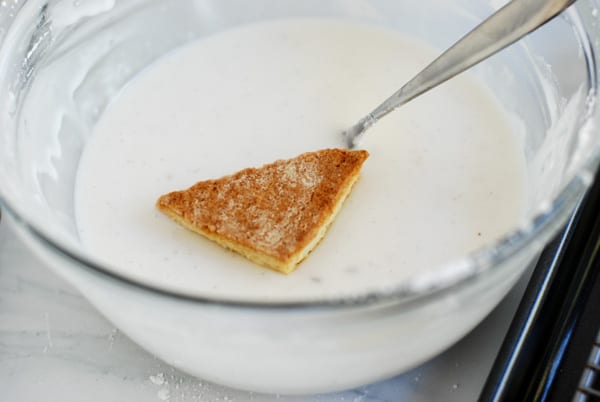
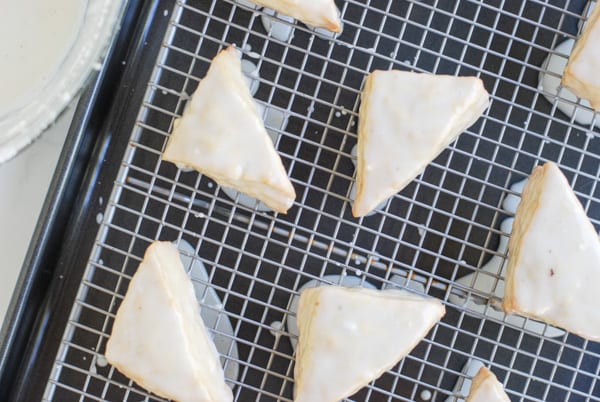
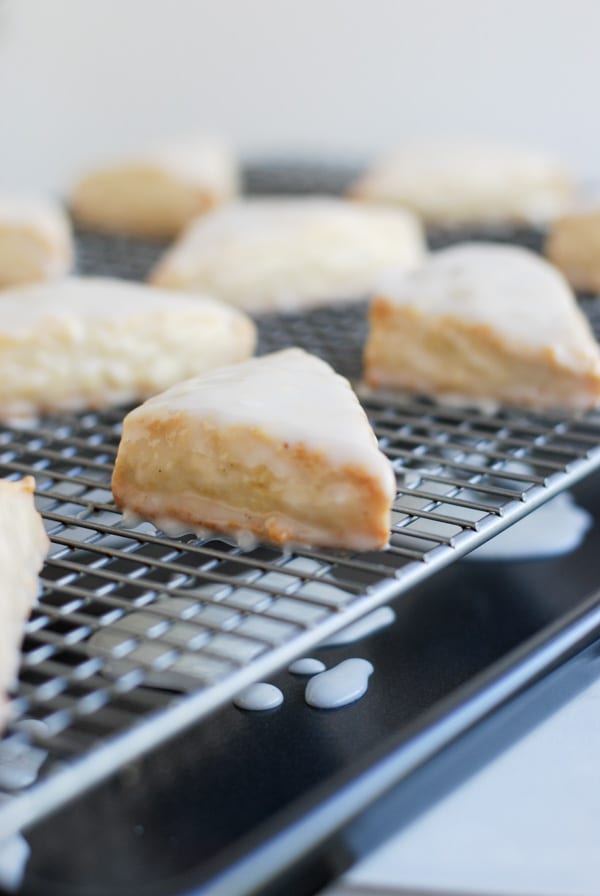
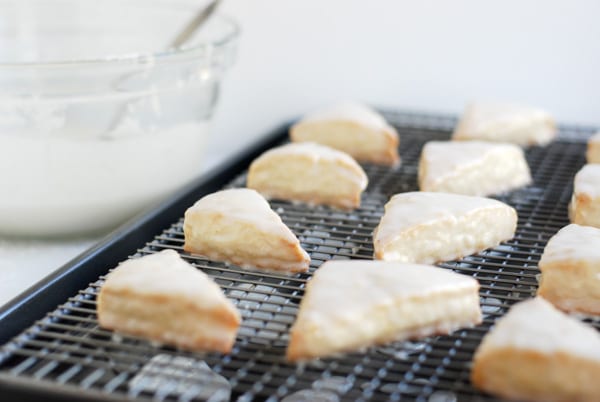
Next, carefully drench each cooled scone by dunking into the vanilla bean glaze. Transfer to parchment paper or the cooling rack. Allow the glaze to set completely, about an hour. (If you need it to set quicker, simply refrigerate.)
Side Note // If a scone swimming in icing isn’t your thing, then you can cut the glaze recipe in half, and use it to drizzle over each scone. They turn out beautiful!
Vanilla Bean Scones
Ingredients
- SCONES //
- 3 cups all-purpose flour
- 2/3 cups granulated sugar
- 5 teaspoons baking powder
- 1/4 teaspoon sea salt
- 2 sticks 1/2 pound unsalted butter, chilled
- 1 large egg
- 3/4 cups heavy cream
- 2 whole vanilla beans scraped
- GLAZE //
- 5 cups powdered sugar sifted
- 1/2 cup whole milk
- 1 whole vanilla bean
- dash of sea salt
Instructions
- Preheat oven to 350 degrees.
- Split the vanilla beans down the middle lengthwise and scrape out all the vanilla seeds inside. Stir the scrapings into the cream. Set aside for 15 minutes.
- Sift together flour, 2/3 cup sugar, baking powder, and salt.
- Cut cold butter into pats, then use a pastry cutter or two knives to cut the butter into the flour. Continue for a few minutes until the mixture resembles coarse crumbs.
- Using a fork, lightly beat the egg into the vanilla cream mixture. Pour onto the flour mixture; stir gently with a fork just until it comes together. (If you're having trouble combining, use clean hands to help.)
- Put dough onto a lightly floured surface and press it together until it forms a rough rectangle. (Mixture will be pretty crumbly.) Use a rolling pin to roll into a rectangle about 1/2 inch to 3/4 inch thick. Use your hands to help with the forming if necessary.
- Use a knife to trim into a symmetrical rectangle, then cut the rectangle into 12 symmetrical squares/rectangles. Next, cut each square/rectangle in half diagonally, to form two triangles.
- Transfer to a parchment paper lined cookie sheet and bake for 15-18 minutes (until edges and bottom are a light golden brown). Allow to cool for 15 minutes on the cookie sheet, then transfer to a cooling rack to cool completely.
- VANILLA GLAZE
- While scones are cooling begin making the glaze.
- Split one vanilla bean in half lengthwise and scrape out the seeds. Stir vanilla bean seeds into milk; allow to sit for awhile. Mix powdered sugar with the vanilla milk, adding more powdered sugar or milk if necessary to get the consistency the right thickness. Stir or whisk until completely smooth.
- One at a time, carefully dunk each cooled scone in the glaze, turning it over, if desired. Transfer to parchment paper or the cooling rack. Allow the glaze to set completely, about an hour. Scones will keep several days if glazed. Enjoy!
Notes
I hope that you enjoy these dainty vanilla scones with a good cup of coffee over breakfast, or as an afternoon snack with a cup of tea! Or… even better, maybe you’ll whip up a batch as a little Valentine’s Day treat for your sweet ones!
